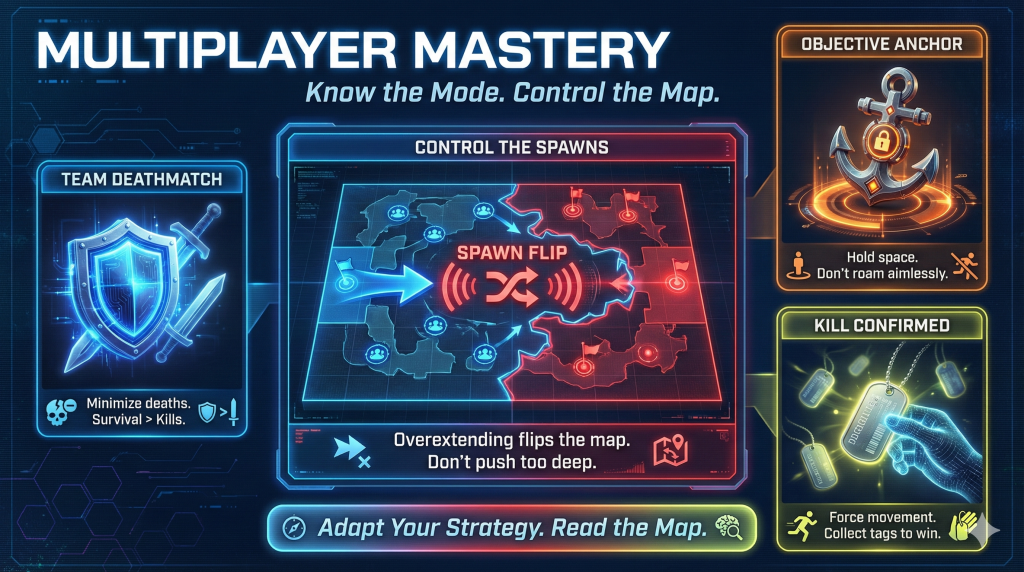
Success in Call of Duty multiplayer is not determined by gunskill alone. Many matches are lost because players apply the wrong strategy to the wrong mode.
Each multiplayer mode operates under a different set of rules. Some reward careful positioning and spawn control, while others punish overextension and careless aggression. Treating every mode the same leads to missed objectives and unnecessary losses.
This guide explains how the core multiplayer modes work and outlines the strategies that lead to consistent wins. By understanding win conditions, spawn behavior, and objective priorities, you can adapt your playstyle to any map and mode.
Key Takeaways
- Multiplayer modes reward different behaviors, and using the wrong mindset costs games.
- Spawn locations are influenced by teammate positioning and determine map control.
- Team Deathmatch is won by minimizing deaths, not maximizing eliminations.
- Domination and Hardpoint reward holding space rather than constant movement.
- Overextending into enemy territory can flip spawns and collapse map control.
- Kill Confirmed forces movement and punishes passive play.
Understanding spawn logic and map control
Enemy spawns in Call of Duty multiplayer are not random. The game uses a set of rules to place players in locations that are close to teammates and away from immediate danger.
Because spawns respond to player positioning, map control becomes predictable over time. Holding certain areas limits where the enemy can safely reappear, while careless movement opens new spawn points behind your team.
Teams that understand spawn logic gain control over the flow of the match. Instead of reacting to enemies as they appear, they anticipate where pressure will come from next and position accordingly.
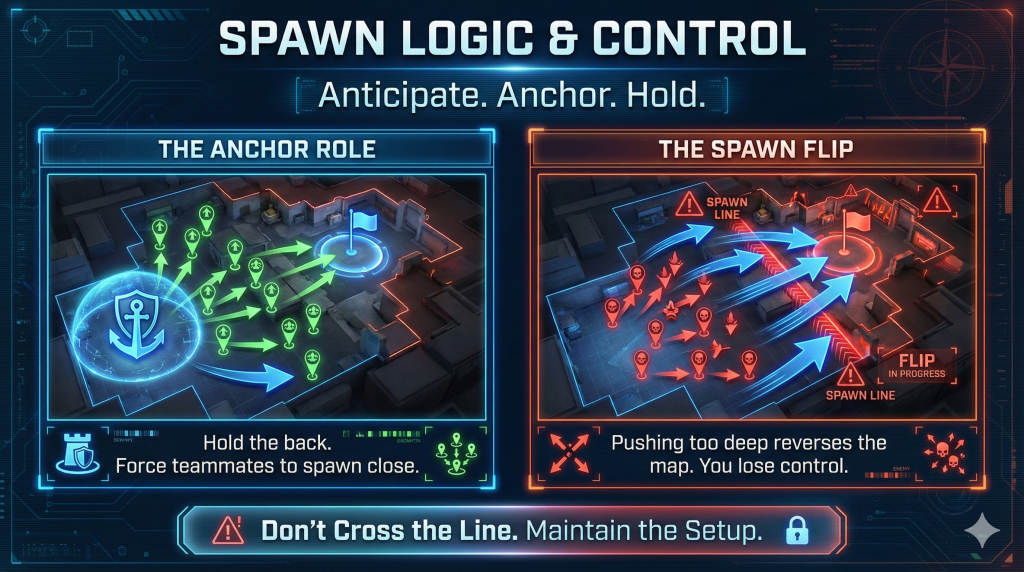
The anchor concept
Anchoring is the practice of assigning one player to hold a stable position away from the main fight. This role exists to influence where teammates respawn, not to chase eliminations.
By remaining alive in a controlled area near the objective, the anchor forces the game to place respawning teammates close to the action. This reduces travel time, maintains pressure, and prevents chaotic spawn shifts.
When an anchor abandons their position or is eliminated, the system loses its reference point. Teammates may respawn across the map, breaking setup and giving the opposing team time to take control. Strong teams treat anchoring as a responsibility, not a passive choice.
Flipping spawns
Spawn flips occur when a team pushes too deeply into enemy territory and removes all safe respawn options. When this happens, the game relocates the opposing team behind you, often in areas your team just vacated.
This shift is rarely beneficial. Flipped spawns break defensive setups, expose players from multiple angles, and undo hard-earned map control. What begins as aggressive pressure often turns into confusion and lost objectives.
Effective teams recognize when to stop advancing. Holding a controlled boundary keeps enemy spawns predictable and protects your positioning. Discipline in movement preserves structure and prevents self-inflicted disadvantages.
Slaying modes: Deathmatch and Kill Confirmed
Slaying modes are built around eliminations, but winning still depends on discipline. These modes reward efficient engagements, not constant movement or reckless aggression.
In both Team Deathmatch and Kill Confirmed, every death affects the scoreline directly or indirectly. Poor positioning, unnecessary challenges, and chasing kills without awareness often cost more points than they generate.
Understanding the specific scoring rules of each mode is essential. While both focus on eliminations, the behaviors that lead to victory are not identical.
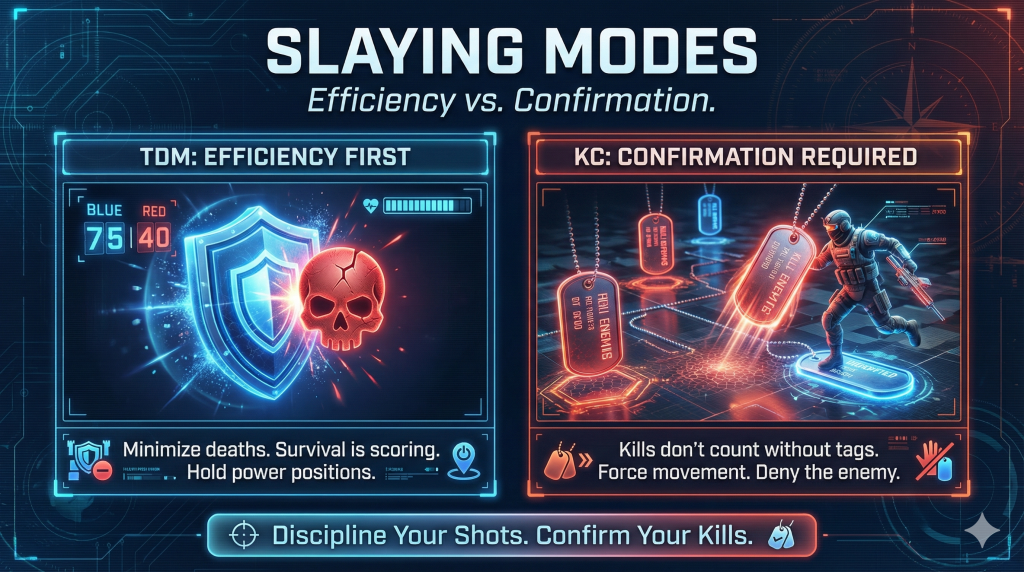
Team Deathmatch (TDM)
Team Deathmatch is decided by efficiency, not volume. Every elimination moves your team closer to victory, but every death does the opposite.
Players who chase kills across the map often give away free points and destabilize spawns. Strong TDM play focuses on holding advantageous positions that limit enemy approach angles and create predictable engagements.
By staying alive and forcing opponents to challenge you on your terms, you reduce risk and increase team value. In TDM, protecting your life is often more important than pushing for one more elimination.
Kill Confirmed
Kill Confirmed changes the value of eliminations. A kill only counts when the corresponding dog tag is collected, which forces players to move through contested areas.
This structure punishes passive play. Eliminating enemies from a distance without securing tags creates false progress and leaves points unclaimed. Teams that hesitate often lose despite winning gunfights.
Denying enemy tags is just as important as collecting your own. Picking up tags dropped by teammates prevents the opposing team from scoring and slows their momentum. In Kill Confirmed, movement and awareness determine the outcome more than raw aim.
Objective modes: Domination and Hardpoint
Objective modes are not won by eliminating enemies alone. Points are earned by controlling space over time, and kills only matter when they help secure or defend that space.
Players who focus exclusively on gunfights often leave objectives undefended. This creates short-term advantages but long-term losses. Strong objective play treats eliminations as tools that create openings, not as the goal itself.
Success in Domination and Hardpoint comes from timing, positioning, and restraint. Teams that understand when to push, when to hold, and when to rotate gain consistent control and win matches without needing to top the scoreboard.
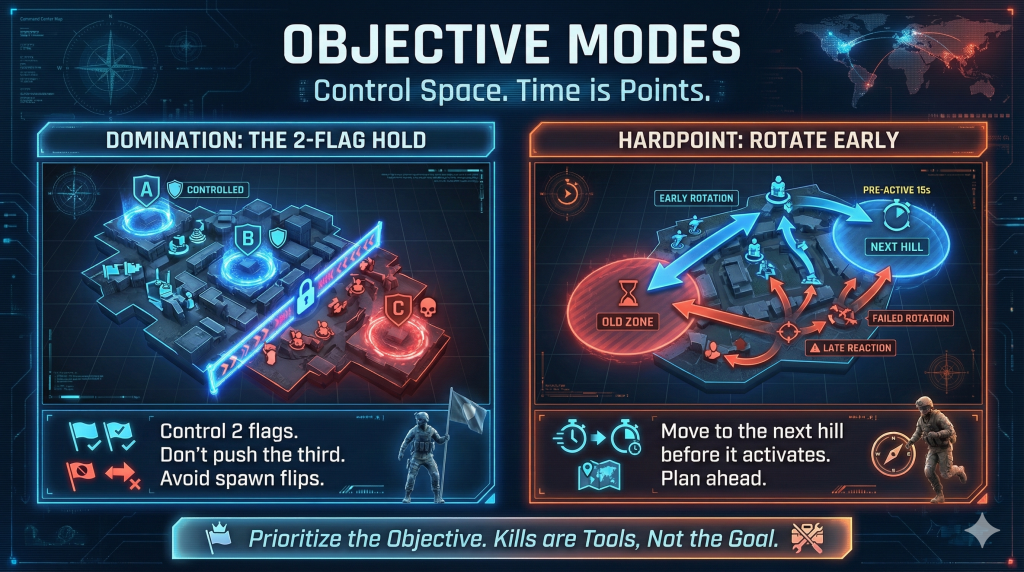
Domination
Domination is won by controlling space, not by capturing every objective on the map. Teams earn points over time for each flag they hold, which makes stability more valuable than constant movement.
The most reliable strategy is to control two flags, typically your home flag and the central objective. Holding these positions creates predictable spawn locations for the enemy team and allows your team to defend without overextending.
Capturing the third flag often destabilizes this balance. Pushing too far forces spawn flips, breaks defensive setups, and gives opponents opportunities to regain control. Strong Domination play prioritizes structure and restraint over total map coverage.
Hardpoint
Hardpoint rewards teams that plan ahead rather than react. Points are earned only while holding the active zone, which makes preparation more valuable than late aggression.
Rotating early allows your team to secure favorable positions, influence spawns, and establish control before the opposing team arrives. Waiting until the final seconds often forces rushed entries and costly challenges against defenders who are already set.
Successful Hardpoint teams assign roles. Some players focus on holding the objective, while others protect approaches and maintain spawn stability. This structure turns each hill into a controlled environment instead of a chaotic scramble.
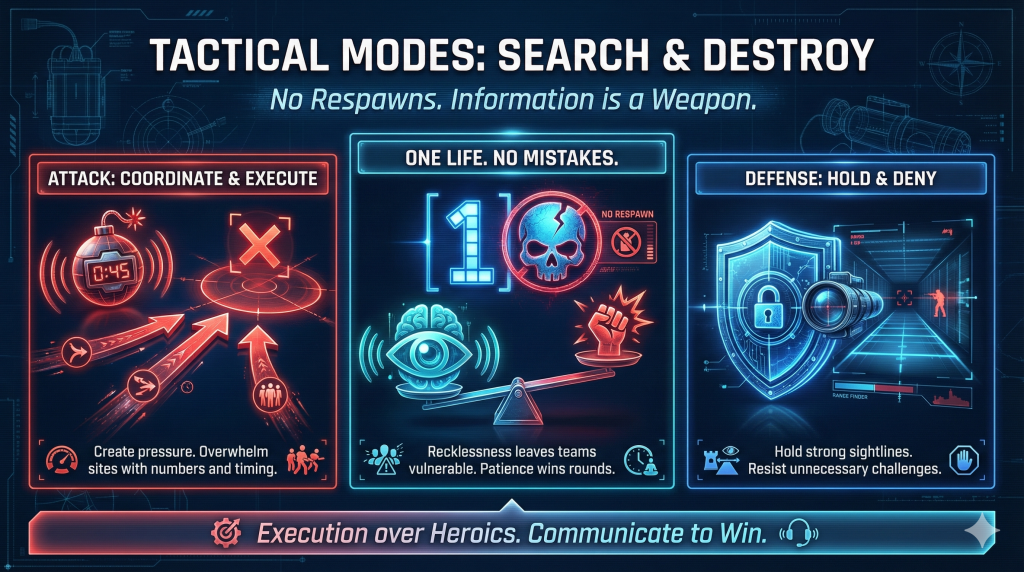
Tactical modes: Search and Destroy
Search and Destroy rewards restraint and information over mechanical dominance. With no respawns, every decision carries long-term consequences for the round.
Because players only have one life, reckless aggression often leaves teams outnumbered and vulnerable. Eliminations matter, but surviving while gathering information about enemy positioning matters more.
Strong Search and Destroy play prioritizes patience, sound positioning, and communication. Teams that control information dictate the pace of the round and force opponents into predictable mistakes.
Attack vs. defense
Search and Destroy assigns different responsibilities depending on your role. Attackers must create pressure and force defenders to react, while defenders benefit from patience and controlled positioning.
On defense, holding strong sightlines and denying space limits attacker options. Success comes from resisting unnecessary challenges and capitalizing on mistakes rather than chasing eliminations.
Attackers rely on coordination and timing. Overwhelming a single bomb site with numbers and utility creates openings that solo pushes rarely achieve. In this mode, winning comes from disciplined execution, not individual hero plays.
Conclusion
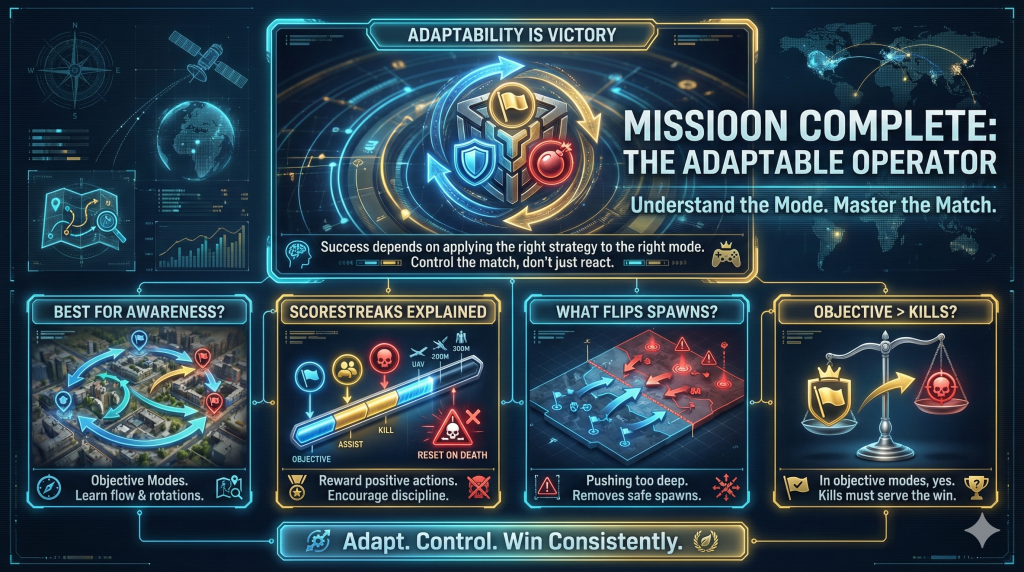
Strong performance in Call of Duty multiplayer comes from understanding how each mode is designed to be won. Applying the same aggressive approach across every playlist often leads to missed objectives and unstable map control.
Players who improve consistently recognize that success depends on adapting their decisions to the rules of the mode. Whether managing spawns in Team Deathmatch, controlling space in Domination, or valuing information in Search and Destroy, each format rewards a different type of discipline.
By learning how modes shape movement, positioning, and pacing, you gain control over matches rather than reacting to them. That adaptability is what separates players who occasionally perform well from those who win consistently across any map.
Frequently Asked Questions
Which multiplayer mode is best for improving map awareness?
Objective modes such as Hardpoint and Domination are effective for learning map flow. These modes force you to track spawn locations, rotations, and control points, which builds awareness faster than purely slaying-focused playlists.
How do scorestreaks work in Call of Duty multiplayer?
Scorestreaks reward positive actions such as capturing objectives, earning assists, and destroying enemy equipment. Unlike killstreaks, scorestreak progress resets when you die, which encourages disciplined play and objective involvement.
What causes spawns to flip during a match?
Spawns flip when a team pushes too deeply into enemy territory and removes all safe respawn locations. This forces the game to reposition enemies behind your team, often breaking map control and defensive setups.
Is playing the objective more important than getting kills?
In objective modes, yes. Eliminations only matter when they help secure or defend objectives. Players who focus exclusively on kills often lose matches despite strong individual performance.
0 Comments